
- Tagboard
- Scissors
- Glue/ Gluestick
- Pencil
- Printmaking Ink
- Printmaking Paper / Printer Paper
- Brayers
- Inking Plates
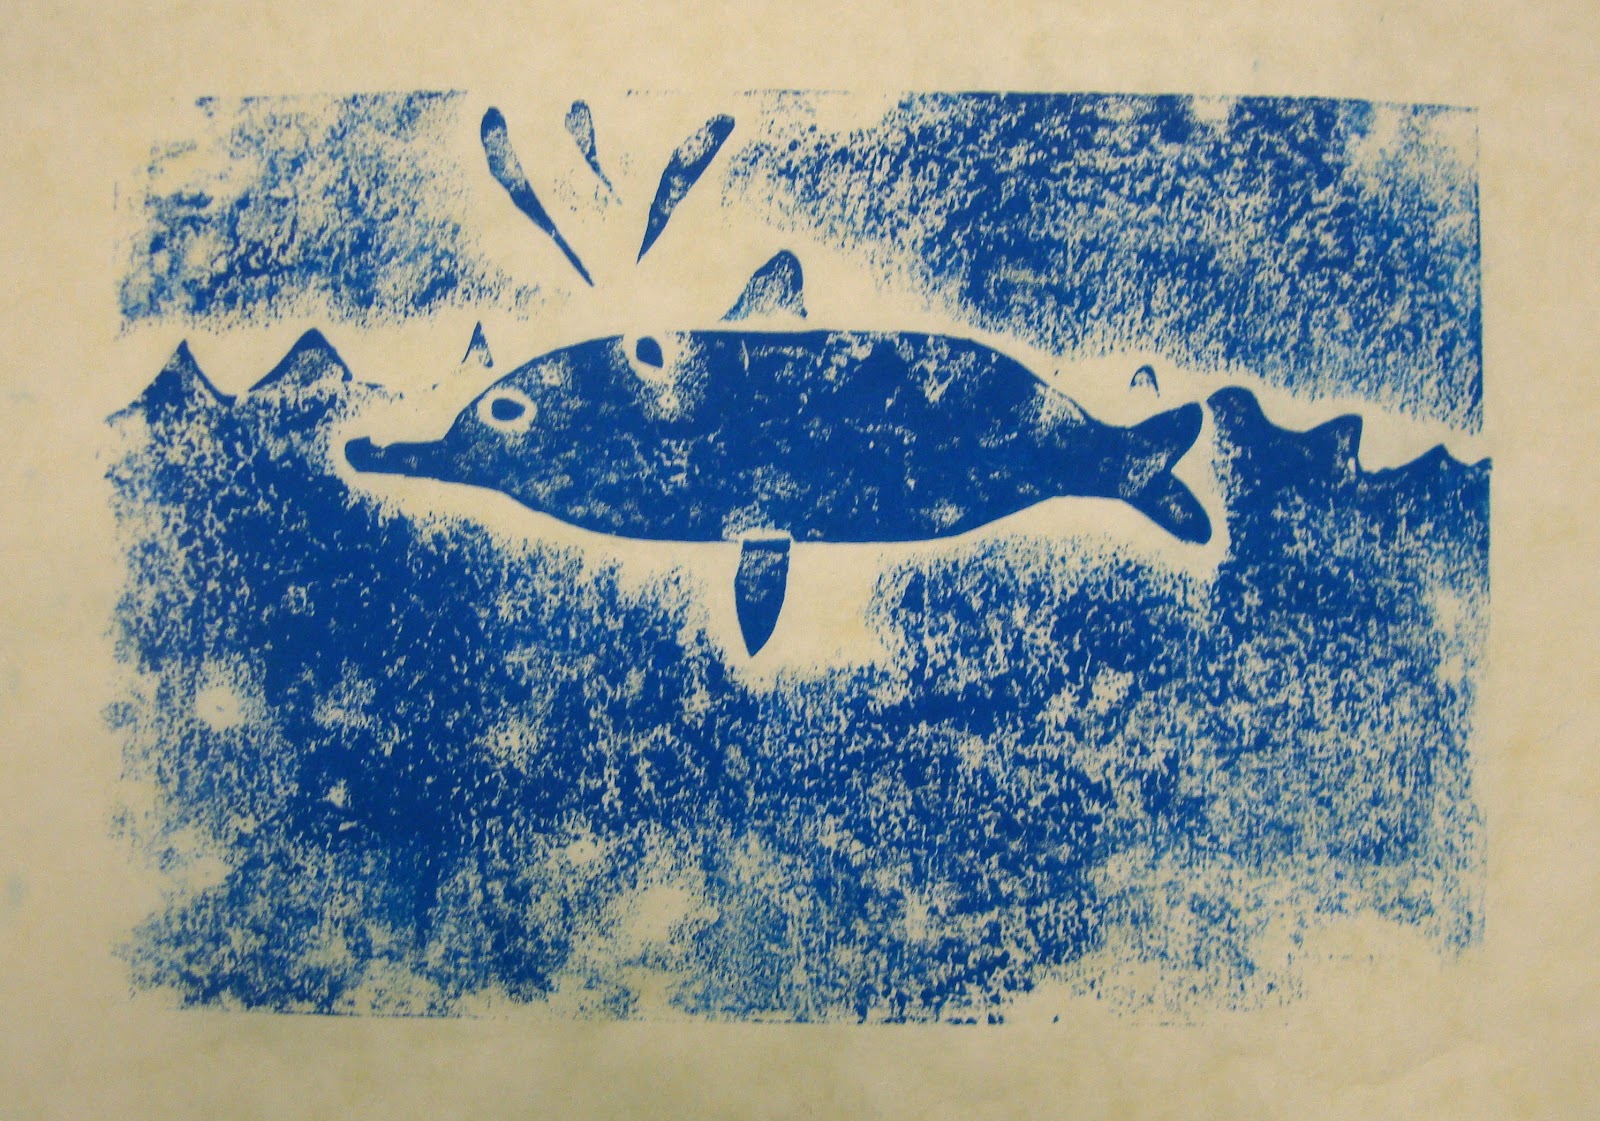
A collograph is is a printmaking process which uses a plate made from a collage of materials.
1. Design a plate on a piece of "sloppy copy" and get it approved. Check for understanding that students understand how each piece will need to be a layer- there can be no literal lines, because you can not physically cut out a line. (Notice how the wave lines are the shape of a wave line.)

2. Begin making each layer of your plate and glue securely. Remind students that when using words or numbers, they will have to be glued down backwards AND in reverse.

3. In case you can't see that up above, here is what a plate looks inked, which is your next step. I used this dried plate as a guide to show the students what a properly inked plate should look like. There should be enough ink to cover the whole plate, but not too much ink so that the crevices of each layer is filled in. If they can't see their design, whether it's too light or the cracks are filled in, they used too little or too much ink.

4. Center and press onto paper! I like to rub both on the front and back of paper.


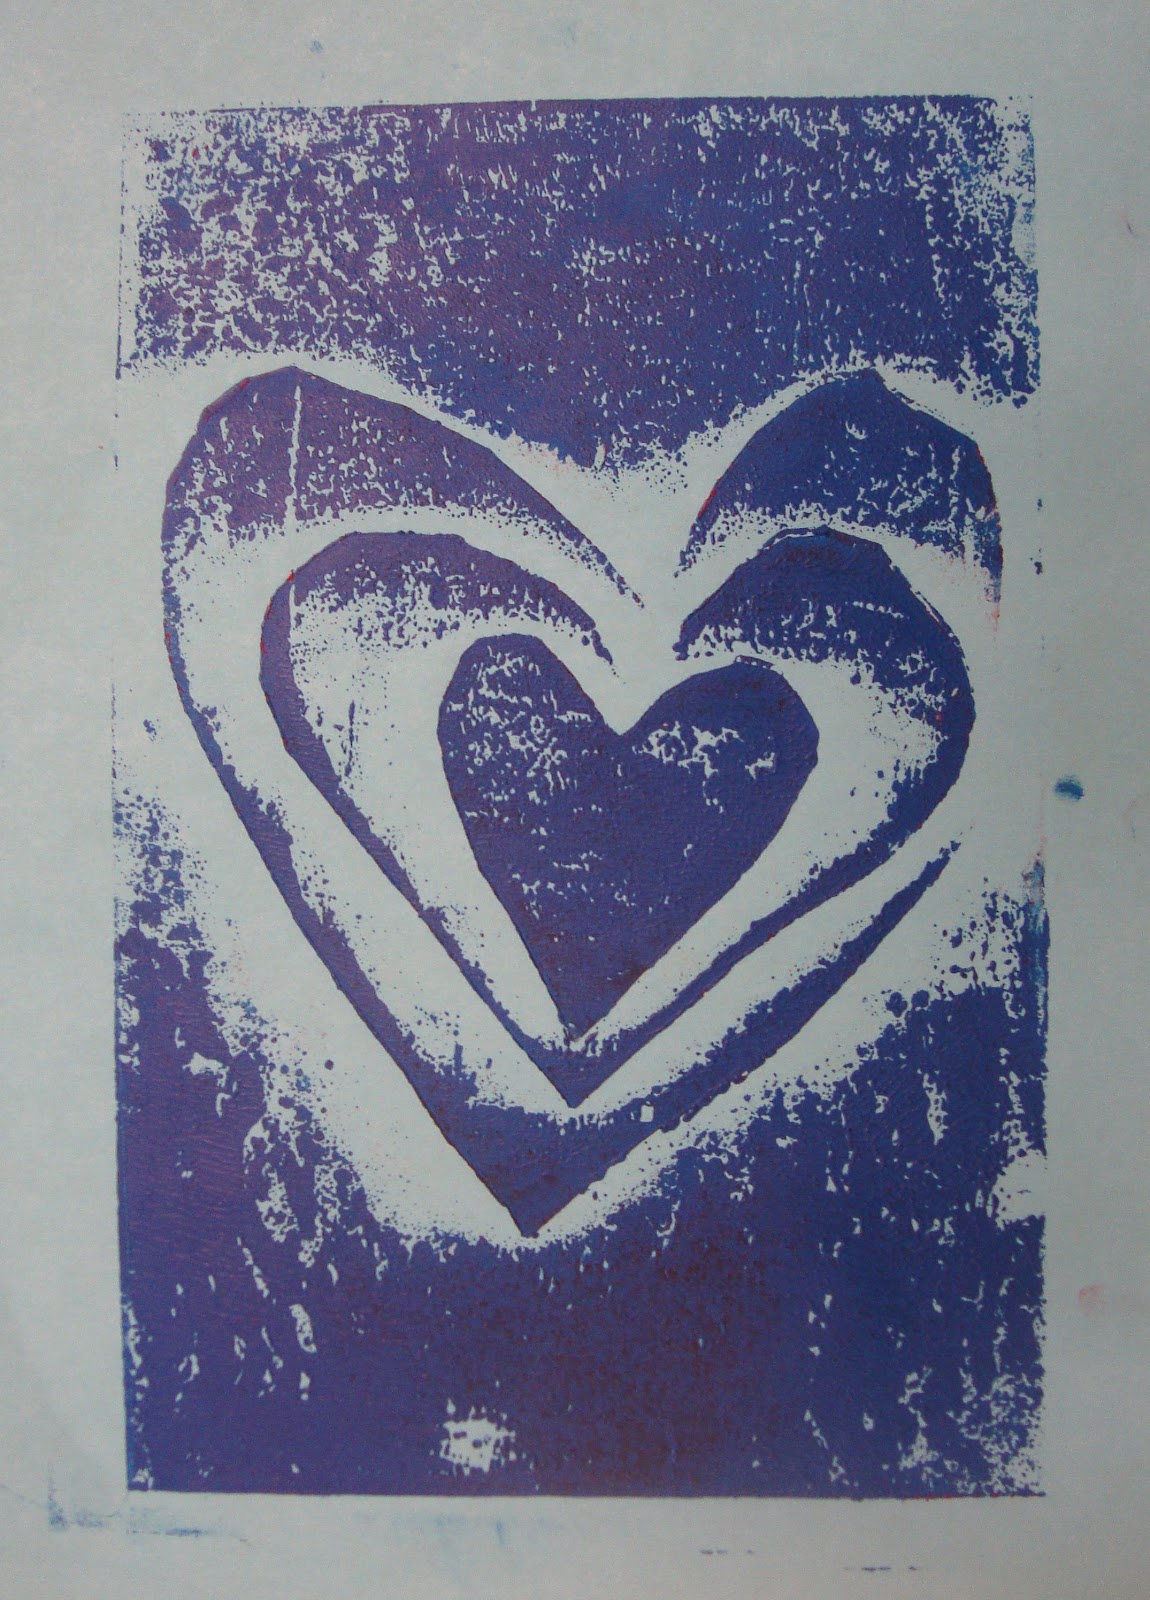

Check out Dali's Moustache for her take on multicolored prints. I forgot to do it this time around but it's something definitely worth trying!
There is certainly a great deal to learn about this topic.
ReplyDeleteNice Blog. Thanks for sharing with us. Such amazing information.
ReplyDeleteThis is an awesome motivating article.
ReplyDeleteYou put truly extremely accommodating data. Keep it up.
ReplyDeletethank you for sharing such a great bog it is very helpful.
ReplyDeleteThanks for any other great article.
ReplyDeleteYour article has answered the question I was wondering about!
ReplyDelete